Tag Archives: boxes

Print Mount bags

Buy Only What You Need, and Take a Discount

A focus on service means we’ll gladly break a package of 100 to sell you only what you require. Whether you need 10 or 10,000 clear greeting card bags, print sleeves, bookmark sleeves or clear plastic boxes, we take the time to carefully inspect factory shipments and customize your order, so you save big, especially on oversize bags. We also offer shipping choices, including USPS Retail shipping so you can save even more!

Check us out, and thanks for shopping!

  1. $5 off purchase of $50 or more (Five50)
  2. $10 off purchase of $100 or more (Ten100)
  3. $15 off purchase of $150 or more (15One50)

Our Etsy store is growing—new products are up!

blog-post-image-with-new-etsy-products

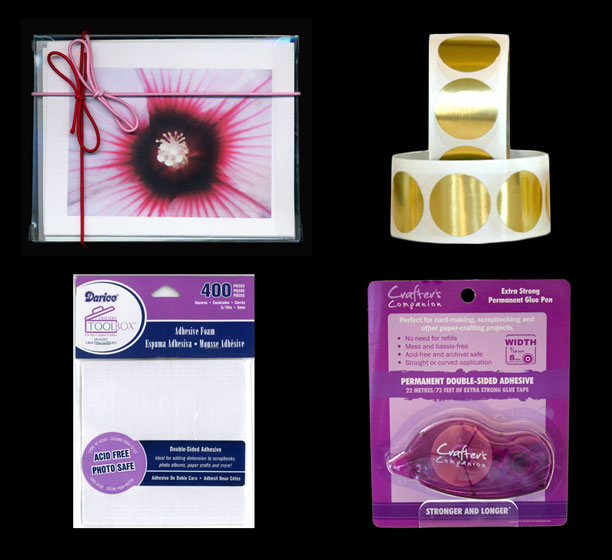
Now available from our Etsy store are our greeting card boxes, elastic stretch loops, gold seals, adhesive foam pieces and glue tape—all great tools for making and packaging handmade note cards!

Several weeks ago we announced our Etsy store was live, and that we were selling a new kraft note card set; now we have five more products available, and we’re excited about reaching out to more DIY aficionados!

We’ve listed more tools for cardmakers, scrapbookers and other crafters alike: soft fold clear plastic boxes (in standard A2, A6 and A7 sizes), 10″ elastic stretch loops (in 18 metallic and matte colors), gold seals (in 1″ and 1-1/4″ sizes), adhesive foam pieces (squares, strips and circles), and the glue tape pen. Although our regular readers might already recognize these products from Oak Creek Printworks, we hope you’ll share the news with those you know who already use Etsy and might be interested in shopping from us.

Check out our Etsy store, and stay tuned for more updates as we continue to grow our Etsy product offerings!

Panorama phone apps stimulate imagination

moorpark college

This past weekend I was immersed in the unpleasant chore of paying bills, when I reached for a pen and instead, my clumsy grasp sent a cup full of pens spilling over the edge of my desk and into a box full of old cards. Reluctantly, I got up out of my chair and fumbled through the box, my eyes landing on some old photos stored in a clear plastic box.

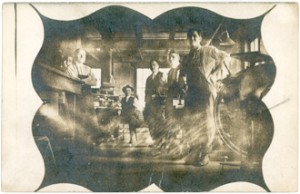
Upon seeing the fading image my grandfather as head pressman of the print shop where he worked, I realized I had not scanned the photo, which I thought might make a good retouching project for my Photoshop students.

And then, much as I hated to, I had to stop myself from wandering off track, but when I saw this new 180-degree panorama image juxtaposed with the circa 1920 image of my grandfather,  I couldn’t help but marvel at the technology built into our mobile devices.

As I mentioned in my article on “grunge” apps, now that we’ve mastered the doctored image to near perfection, we’ve gone on to mimic effects like the vignette, the scratches, and the light leaks in this aged image. And now we can create 180-degree, 360-degree, and even cave-like images projections that totally surround.

As a kid growing up in the 50s, the Dick Tracy watch was science fiction. Who’d thunk that as an adult, I’d have my very own communication device far superior to anything Dick ever imagined? This week I’m into panorama apps, but note that this is not intended as a review or comparison of specific applications, but instead, a reflection of my limited experiences with panorama apps in general.

cartagena, colombiaTypically, if you’re shooting with a normal lens, you can achieve a panorama effect by cropping and zooming into a very narrow area of an image. That’s essentially what you get when you order a panorama from the drug store, or your local film processor.

Among its many automation features, Photoshop has a fairly sophisticated blending function called “photomerge.” These days, however, I’m into “quick and dirty,” but I don’t really see the “dirty” in an app like AutoStitch from Cloudburst Research. It’s incredibly simple to use and has impressive blending and exposure algorithms.

cartagena, colombia-panoramaI’ve been making images around the college campus where I teach, and one of the effects when shooting these panoramas that has intrigued me ever since I studied photography is that of the disappearing people. I’ll never forget the sense of awe I experienced when seeing the photographs of Ralph Eugene Meatyard. The children in the images had disappearing faces, an effect all photographers have experienced when using slow shutter speeds while the subject moves.

It’s one of those things that started me  thinking about how untrustworthy human vision is, and the fact that we don’t see something doesn’t necessarily mean it is not there. It just means that our senses are not acute enough…and you can extrapolate whatever you want from that. My next project is to turn some of these panoramas into bookmarks that I can include with the gifts I give during the coming year.

10 Easy tips on displaying your greeting cards

OK, you’ve decided that one way to sell your artwork is on greeting cards. You’ve found some places to sell them – craft fairs, farmer’s markets, local merchants. However, displaying them in booths or on the countertop is different than displaying larger artwork. The most common ways to display cards are in spinner racks, on slat walls, on acrylic shelves, and in free-standing displays. Any display that shows the full faces of cards is ideal. Beyond that, greeting cards aren’t exactly a three-dimensional product, sometimes making them difficult to display creatively.

Here are some easy tips on how to display your cards for sale.

1. No room for a table top display at your farmer’s market booth? Show them off on string or colorful ribbon strung between the posts of your booth or hanging vertically. You can even find mini-clothespins at a craft store to attach them. Keep cards for purchase stored in a box under the table.

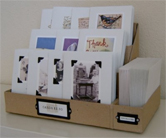
2. Make shoe boxes (perhaps wrapped in wrapping paper) with dividers for clients to sort through. Just Something I Made is a wonderful blog on how to build a tiered box system for displaying your cards.
JustSomething

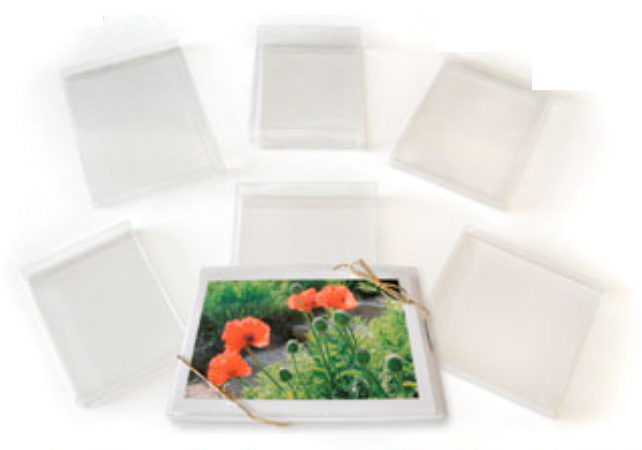
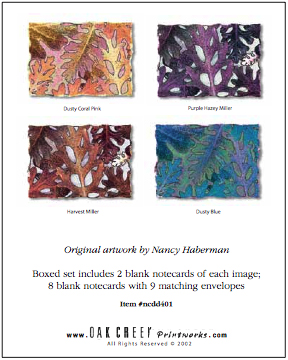
3. Sell sets in clear boxes. Prepare a sheet for the bottom of the box that shows all the card designs included in the box, as shown below:
ClearBox ClearBoxInsert

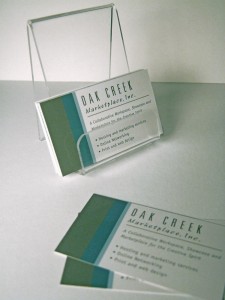
4. Buy acrylic cardholders for counter-top display. These can be very inexpensive, and are perfect for displaying just one or two card styles on a countertop. Oak Creek Printworks carries small and large stands.
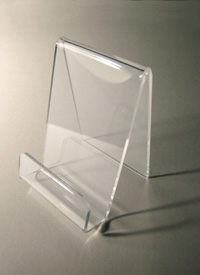
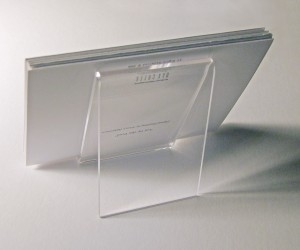
AcrylicEaselSm BackEasel BCEasel

5. Use office divider racks to display your cards. Some office supply stores have what they call “junior” racks, which are smaller than the 8.5 x 11 file size racks (too big for greeting cards).
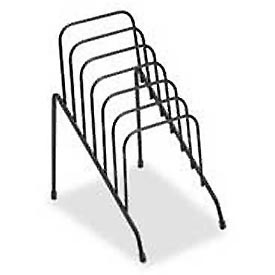
WireRack

6. Laminate your cards together on a large sheet of paper. If the cards are blank inside you can just show the fronts. If there are verses inside you will want to show both the front of the card and the inside.  These laminated “posters” can be displayed on a table or by hanging on a wall.  Depending on the size, they can also be displayed in an album or flip chart. The art always stays clean, and you can even use dry-erase markers to write on the poster, and wipe it off later. Perfect for listing prices or emphasizing sale items. The actual cards for purchase can be stored in a box or file under the table.

7. Display your art online using a website or a blog, such as Facebook or WordPress.

Facebook – Display your designs and cards on your own facebook page. Link to your blog on WordPress. Join groups of artists who will link to your page and blog, like the Graphic Artists page.

WordPress provides public domain blogging software, which means it is FREE! It is easy to set up an account. Here are some examples of sites that are selling cards with WordPress sites:

Rikki O’Neil and Friendship cards

8. Use a scrapbook or portfolio book to display the cards on a counter top, and store actual cards for purchase in a box or file underneath the counter. The scrapbook can be purchased or even homemade.
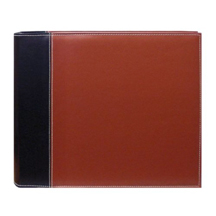
scrapbook
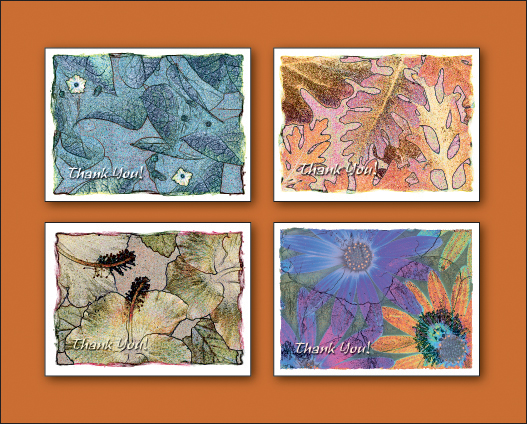
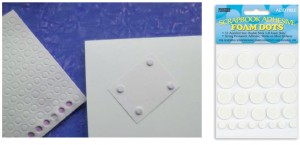
9. Arrange a 3-D display on heavy posterboard using the adhesive 3-D dots that scrapbookers use for their album pages. The downside to this method is that if the display board or cards get dirty or dogeared they can be hard to clean.
PopPoster-Cards dotPoster

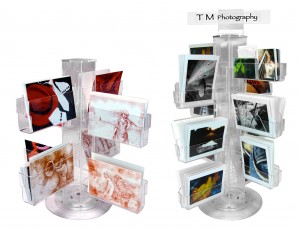
10. Acrylic Spinners – a perfect countertop or floor display.
Blog-spinners

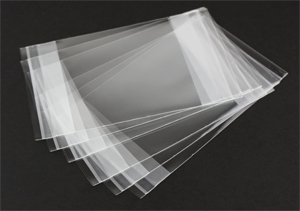
Don’t forget, when displaying your cards, the best way to protect the artwork as potential customers handle them is to use some type of protective sleeve. Check out our card jackets, no-flap bags, and protective closure bags.

We hope that this information has helped you, and would love to hear how you display your products. Leave a comment, or send us an email at info@oakcreekprintworks.com. Include a photo and we will try to post it here on the blog.

Cardmaking Made Easy

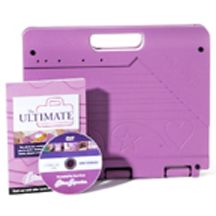
A friend recently asked me to try out the Ultimate Crafter’s Companion (UCC), the latest in cardmaking accessories from Crafter’s Companion, but frankly I was skeptical. What could this “little pink suitcase” do for me that I couldn’t accomplish with a ruler, paper cutter and scissors? While I usually jump at the chance to acquire new crafting tools, I wasn’t convinced that this was really anything different from what I already had. Boy, was I wrong. Actually, I was blown away.

Easy Folding
My first discovery was a simple but important one—the ease of folding cardstock. Anyone who has tried making their own cards knows the frustration of folding the cardstock, only to discover it is slightly uneven. Refolding looks awful. I was amazed to discover that the Ultimate Crafter’s Companion  provided a way to fold any size card in half in seconds, with perfect, professional results every time. No measuring, no guessing, and no mistakes. I’m a fan of saving time, so this was a good introduction to this new product. And it only got better.

Envelopes
After watching the instructional DVD I couldn’t wait to get started making the unique cards, envelopes and boxes I saw demonstrated. They even have what they call an “envelobox” for extra thick cards. I love the idea of being able to make a perfectly sized envelope for any size card, add a contrasting liner and even emboss the flap. I had never been able to master the art of making envelopes, but it will never be a problem again. The creative possibilities are endless.

Make your own gift boxes
Once I tried boxes I couldn’t stop making beautiful gift boxes. Just in time for the holidays! The lids fit perfectly – no measuring on my part. This system is fabulous. Just like the envelopes, the UCC folks have done all the thinking and measuring for you.

Ultimate Crafter's Companion

Ultimate Crafter’s Companion

Speaking of holidays, this winter I’ll be sending out some stunning cards—without the stunningly high price tag. Join me in tackling some fun holiday projects.