Monthly Archives: October 2010

Image of the Week

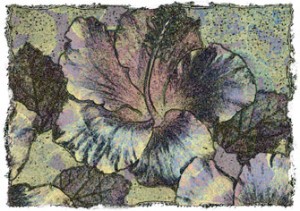
This image is a perfect background texture image. To download, click on the image below. When the high resolution copy appears right click on it to copy or save it.

Photo provided by Trevor Mauk.

You can see more of Trevor’s images by clicking here.

If you use our images, we would love to hear from you and see a sample of what you did with it. Who knows, we might just post your creation in a future blog…with your permission, of course! Contact us at admin@oakcreekprintworks.com.

Terms of Use: You can use this image for anything you wish (e.g. advertising, printed materials, product packaging, presentations, brochures, greeting cards, postcards, book covers, etc.) as long as you do not copyright it or resell it. Oak Creek Printworks and Oak Creek Marketplace, Inc. are not liable for any damages incurred by your use of the image. ©2010 Oak Creek Printworks

Visiting a museum: plan before you go!

by David Heyman

Everybody who is involved in the creative process of producing art is interested in refining their skills and learning new techniques. While many art instruction books and videos are available, covering all the artistic mediums, there is no substitute for direct observation and study of the great masters of your particular genre. A wonderful, and often underutilized resource Continue reading

Featured Artist – Fall 2010

Elizabeth VanDuine

http://www.elizabethvanduine.com/
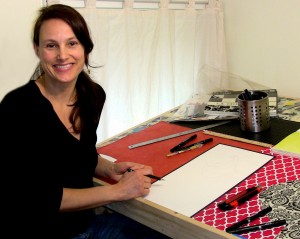
At first glance, Elizabeth Vanduine’s art may look like an intricate painting, but upon closer inspection, you’ll discover layers of colorful, textured papers meticulously matched to the negative space created behind her black silhouette-style original drawings. She calls it “organized chaos.”

Starting with plain paper and a pencil, the basic design is carefully sketched and then made permanent with a thick black marker. Then all of the white space is carefully cut out, leaving a delicate black drawing, much like Japanese Kirie, or “cut picture.” Layers of papers are matched to the open spaces and applied quite precisely to the back of the drawing using archival book binding paste.

Elizabeth considers herself very organic in nature, and enjoys the meditative process of her cut paper creations. The first stage, the design and drawing is the most creative and integral to the finished piece. If the drawing is not clear, the cutting becomes quite confusing. Stage two involves the technical aspects of cutting out all the negative spaces to create the paper cut which resembles a stencil. In stage three, the image comes alive as Elizabeth pastes papers onto the back of the paper cut. This three-stage process allows her to layer a bit of herself into each piece.

“It’s fascinating to me that this whole process was not learned or seen anywhere else, yet has existed in Japan for years. It was ‘born’ from a single creative experience that just came to me.” This unique art form literally found Elizabeth quite by accident, when she was working on some sketches at her mother’s house, and found a table full of scrap papers, some glue, and an exacto knife that was meant for another purpose.

Obviously inspired by nature, the designs often include elements like the sun, moon, stars, swirls, trees, and flowers. There are dozens of projects waiting to be done, although Elizabeth admits that each project “pulls” her in to begin the process. Choosing from her sketches or from ideas generated from commissioned pieces, this art work is truly inspiring and full of the passion that the creator brings into form from chaos.

Original framed pieces, prints, and cards can be found at the Verksted Gallery in Poulsbo, Washington. Commissioned work is welcome.

Image of the Week

To download, click on the image below. When the high resolution copy appears right click on it to copy or save it.

If you use our images, we would love to hear from you and see a sample of what you did with it. Who knows, we might just post your creation in a future blog…with your permission, of course! Contact us at admin@oakcreekprintworks.com.

Terms of Use: You can use this image for anything you wish (e.g. advertising, printed materials, product packaging, presentations, brochures, greeting cards, postcards, book covers, etc.) as long as you do not copyright it or resell it. Oak Creek Printworks and Oak Creek Marketplace, Inc. are not liable for any damages incurred by your use of the image. ©2010 Oak Creek Printworks

5 Gifts Under $10 Artists Can Give for the Holidays

by Nancy Haberman

Once the excitement and frenzy of the new school season has calmed, artists know that it’s time to get going on holiday gift and card making. Regardless of the medium in which you work, you’ll get more satisfaction throughout the season if you begin early and put your energy into what you love to do, and that is to make art.

You probably can’t give everyone an original, especially if you’re in the business of selling your art, but whether you sell your art, give it away, or fill every nook and cranny of your home with it, you can still share your art. These are gifts you can make at home with your computer, printer, and professional packaging. Our resource guide may also be helpful. Create a high resolution digital image of your art and then try any of the following five ideas for artists who want to give gifts under $10.

1.Greeting card – a2, a6, a7

Note Card

For resource information on card sizes, image sizing, envelope sizes and protective bag sizes click here.

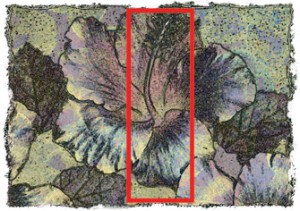
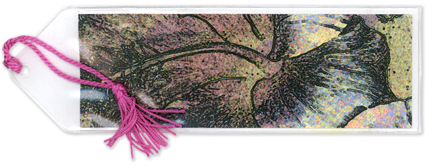
2. Enlarge, crop and and print your art on bookmarks in two different sizes. Enclose in bookmark sleeve and add a tassel.

note card image  cropped

3. Mat cut to order with 1/8″ foam core back and crystal clear bag, ready display or frame

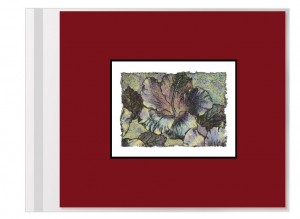
4. 28-page Journal with your art on the cover

5. CD Calendar

Guide to Greeting Card Sizing

Preparing handmade greeting cards or note cards can be tricky, especially if you want them to fit in standard sized envelopes. Here is a chart that will help you as you prepare your card stock and artwork. Protective sleeves are also a nice packaging touch, and can be purchased to fit only one card and envelope, or up to 8 cards and envelopes. Note that the A6-8 sleeve only holds about four A6 greeting cards and envelopes.

Use the charts below indicated standard U.S. sizes to assist in sizing when creating your own greeting cards.

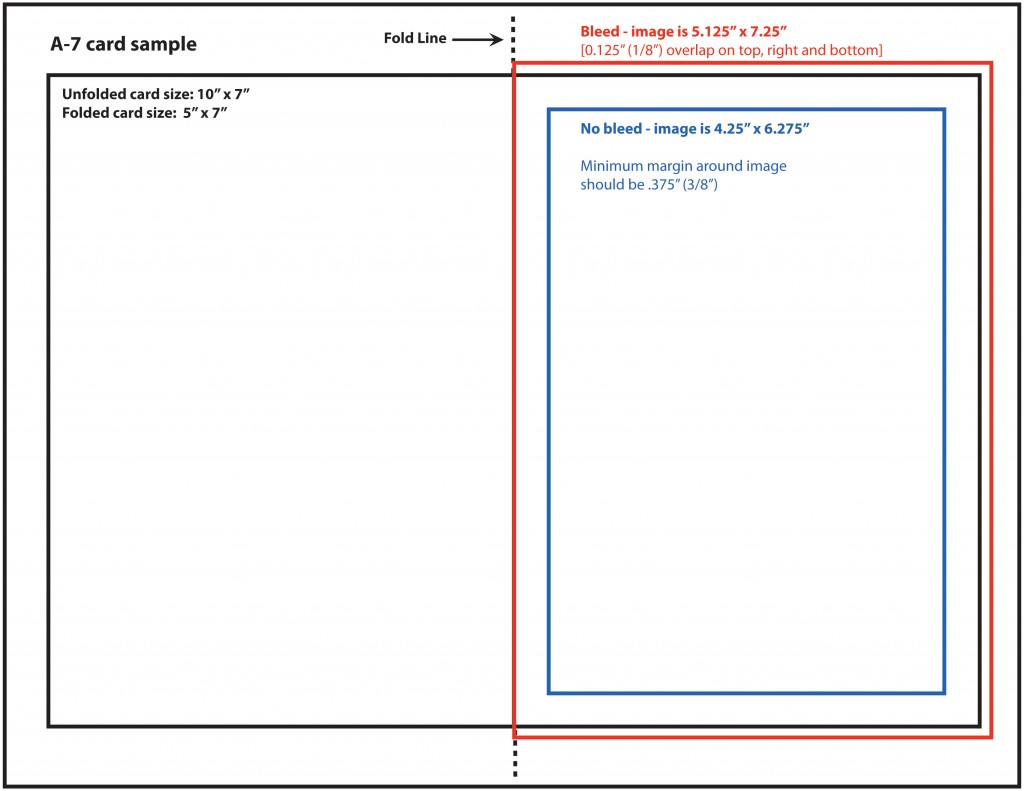
The sample below shows how to position your artwork on 8 1/2″ x 11″ cardstock. If you are using electronic files, and you want the image to print right to the edge of the card (called a “bleed”), the image needs to be larger than the size of the card. The red lines below indicate the bleed position on an A7 vertical card. The bleed must hang over on three sides by a minimum of .125″.  Then, after you print your card you can trim it to the right size.